
Welcome to My Basement Renovation! Part Two
This is Part Two of my three part series on finishing our basement. I’m excited to share that we are making great progress!
Part One discussed our goals for the project, determining our needs, and comparing against our budget. A brief review:
Our main goal for this project is simply to have a well- lighted, heated space that the kids can use to run amok during the long cold winter, and on rainy days. We decided to keep the ceilings open as we plan to do some additional renovations in the future, and walling off the utilities and laundry area for safety. Eventually we may decide to make it a more formal living space, but for now, heat, light, painting, flooring, and enclosing utilities are the basics.
OK – time to get to work!!
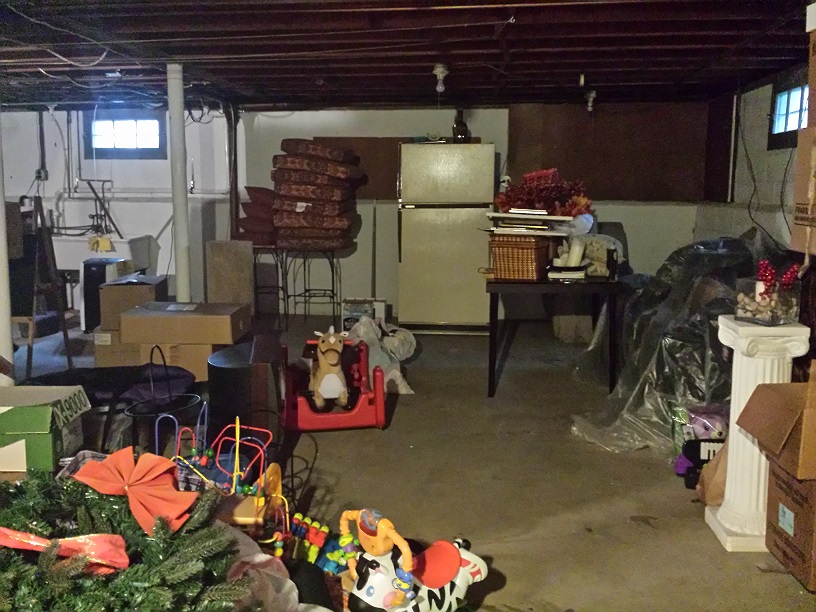
Cleaning and Clearing:
We had to clear out the basement so that work could begin. A lot easier said than done. It took a good month to slog through, there was a lot of old crap stuff we had to sort through: discarded kiddie gear, unpacked boxes from previous moves that were nothing more than an attempt to avoid sorting through that junk eight years ago when we moved here. It was time to pay the piper. Could we have tossed out more? Definitely. But, for example, in order to keep my important stash of decorative pillows, candles, and knick-knacks, I had to compromise on keeping the world’s most ginormous set of stereo speakers, which have not been hooked up to a sound system in nearly eight years. Juuuust saying. I am pleased to report that we were able to get it all done with our marriage intact ?
Before Clearing:
Walls and Electrical:
We put up 2 walls to divide between the finished and unfinished areas of the basement, and enclosed our furnace and water heater. Unfortunately, the furnace and water heater are located on the same side as the area we’re finishing, so we lost some usable space (approx. 80 square feet). We also had the concrete walls and floors treated with waterproof masonry paint, and used mold-resistant sheet rock for the walls. For the waterproofing and painting, we used Scaldino Basement Solutions (on the recommendation of a friend), and are so pleased. Nick and his crew offered great advice, were very easy to work with, and did a great job!
After Clearing and Rough Framing:
![]()

Now we’re getting somewhere!
Flooring:
We chose a “wood-grain print” soft foam tile that looks like hardwood flooring. Wesellmats.com was my go-to, and I was super-happy with their customer service and price (very reasonable at about $1/square foot). They spent a lot of time with me on the phone discussing which finish would be best given our planned use for the room. And it was all delivered in three business days. We selected a white-oak color:

Paint:
Oh. Mah. Gah. Sooo stressful, for me the most challenging part of the entire project! It might be only a slight exaggeration to say I’ve spent more time planning my basement color scheme than I did planning our wedding. Soo many choices. Too many choices. Pinterest was my enemy. I needed to consult an expert.
I highly recommend the fabulous, talented and *patient* Trish from Shady Lady Colors. She has a fantastic eye, and her advice was spot-on. She offered a sympathetic ear to my raving concerns and was more than happy to work through several iterations as I became a total nutcase needed help deciding on a final choice.
Ceiling: Initially, I was leaning toward black or white, but Trish pointed out that black would feel heavy, and white would throw shadows with the lights on and also start to look dirty quickly. Benjamin Moore Eagle Rock, a brown grey, makes the beams, pipes, and hardware “disappear” while still giving a cozy feel.
The winner: Benjamin Moore Eagle Rock.
Walls: I wanted something fairly neutral that would allow us to take the room from playroom to TV room/hangout area once the kids get older, but wanted some pop of color.
Perhaps something gray with a blue-green undertone?
Thus began my descent into madness. People, let me assure you there are far more than 50 shades of grey, the number may well reach into the thousands. Undertones are the key: blue, green, purple, beige, it really varies depending on your lighting situation. Because the basement receives very little natural light, the colors were reading very dark once up on the wall. Trish was super helpful, and ultimately we narrowed down the choices. My decision came right down to the wire, not made until painting was actually underway.
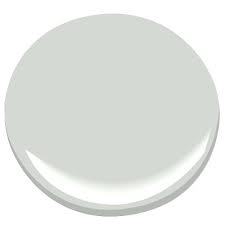
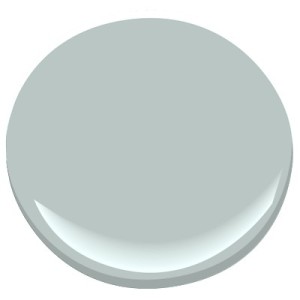
The winner(s): Benjamin Moore Wickham Gray and Benjamin Moore Wales Gray. Wales Gray was the favorite, but on the long wall, just looked too dark under the basement light. So Wickham Gray lightened up the main wall, with Wales Gray as the accent on the shorter walls. Wickham Gray and Wales Gray (in order):
In the next and final installment of the series, the big reveal! Stay tuned!
Have you recently finished your basement? What were your biggest surprises, and challenges? Were you happy with the end result? Was it worth it? Add a comment and let us know!


